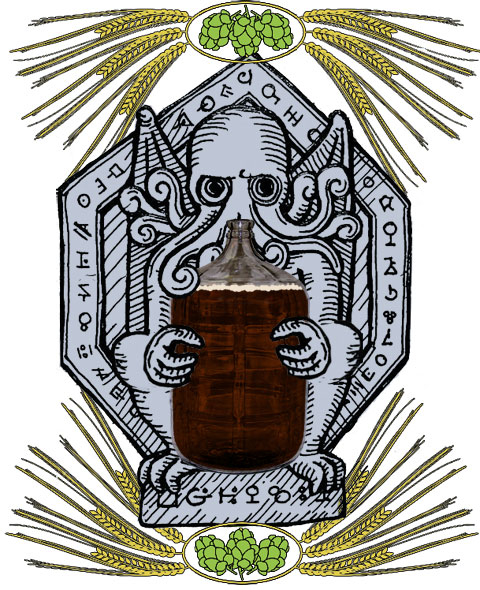
It must cross every beer aficionado’s mind at some point. Halfway into a pint of microbrewed ale, you savor and ruminate on the balance of malt and hops. “This is good,” you think. “But could I do it better?” The good news is that homebrewing is enjoying a renaissance of popularity, and it’s easier than ever to try it out for yourself. The bad news is that no, you probably can’t do it better, at least not at first. But you can make some pretty darned good beer right from the get go, and maybe someday you’ll be ready to take a run at some pro-quality stuff. We’ve devoted this week’s feature to helping you get started.So don your ceremonial robes, and prepare to enter the cave. You are about to be inducted into the first circle of the homebrewing mysteries. Truth one: This isn’t cooking. They may seem similar, but brewing is fundamentally different than cooking. They are both about combination and creation, yes, but when you brew beer, you invite a living creature (actually, thousands of living creatures) into your home. It’s a symbiotic relationship with another living thing. You give food, in the form of wort (the syrupy, sweet proto-beer mixture you whip on your cookstove) to a colony of yeast. And the yeast converts the sugars in the wort into tasty beer for you. Not all relationships are so mutually beneficial, nor so satisfying.Truth two: Proper sterilization is thy King. Of course, there can be trouble along the way. If you don’t take care to clean and sterilize your equipment before getting started, third parties (bacteria and fungus) might get involved. And nothing leaves so bad a taste in your mouth as discovering that somebody’s been sleeping in your yeast’s bed. By the same token, if you use too much sanitizer, your overprotectiveness will kill the yeast before you get a chance to appreciate it. And don’t get too sweet, either. Smothering your beer with sugars can lead to a cidery tasting drink, or worse, exploding beer bottles. No, you must treat your partner juuuuust right.Truth three: The instructions shall point the way.Fortunately, unlike human relationships, beer brewing has instructions. And kits. And time-tested ingredients. The combination will bring you as close to guaranteed success as you can get.So, Sam Adams, why not give it a shot? Homebrewing beer is an American tradition—see Bryan Haney’s column in this section—and getting started is as easy as stopping by one of Albuquerque’s homebrew supply stores and picking up a kit. Bannerman’s Head of Steam(California common ale, based on Charlie Papazian’s recipe in The Complete Joy of Homebrewing)1/2 Pound caramel/crystal malt grains7 Pounds light liquid malt extract1.5 oz Perle hops1/2 oz Cascade hops1 package of American lager yeastA “steam” beer or “California common ale” is a once-ubiquitous West Coast style that has all but disappeared; commercially the last of its kind is Anchor Steam. It’s essentially a lager brewed at ale temperatures and makes for a perfectly light, yet flavorful, summer drink. It’s also easy and fast, which makes it a good candidate for a beginner’s first batch.Instructions:Put the caramel malt grains in a cheesecloth and steep like it’s a big old tea bag in 1.5 gallons of water at 150-160 degrees for half an hour, then remove. Pour in the liquid extract and the Perle hops and boil for one hour. Add in the Cascade hops in the last two minutes before turning off the heat. Slowly pour the mixture through a strainer into the 3 gallons of cool water waiting in your fermenter. Add enough cool, clean water to bring the level up to five gallons. When the wort is cool, open your package of lager yeast and sprinkle the little guys on the surface. Some people recommend making a yeast starter first; if you’d like to do that, read the instructions on the package or ask your friendly homebrew salesperson how. Cover or stopper your fermenter, and add a fermentation lock according to the instructions. Move the fermenter to a quiet, cool, dark corner of your house and wait. Within 24 hours you should see signs of fermentation—foaming, bubbling and burping—as the yeast settles into its new home. Give it about two weeks, and when fermentation has stopped for several days, you’re ready to bottle (again, this is a process that you’re going to have to learn about for yourself, but it’s also straightforward, if a little time-consuming). Let it sit in the bottles for two more weeks and then move a few to your fridge. When they’re cool, crack one open, pour it into a glass (leaving about 1/3 inch of the beer in the bottle so you don’t get too much sediment in your pour) and drink. If all has gone right, you should now feel a self-satisfied smile spread across your face.
The Cult Of Homebrew
5 min read